Python微信订餐小程序课程视频
https://blog.csdn.net/m0_56069948/article/details/122285951
Python实战量化交易理财系统
https://blog.csdn.net/m0_56069948/article/details/122285941
概述
今天要带大家了解的是一款WPF的开源控件库MahApps.Metro。MahApps.Metro是用于创建现代WPF应用程序的工具包,它许多开箱即用的好东西。目前支持的NET Framework 4.6.2及更高版本、.NET Core 3.1, .NET 5 and .NET 6 (on Windows)。官网学习文档地址:https://mahapps.com/docs/
风格赏析(部分展示)
-
Theme有两款,深色和浅色:下面只展示浅色主题
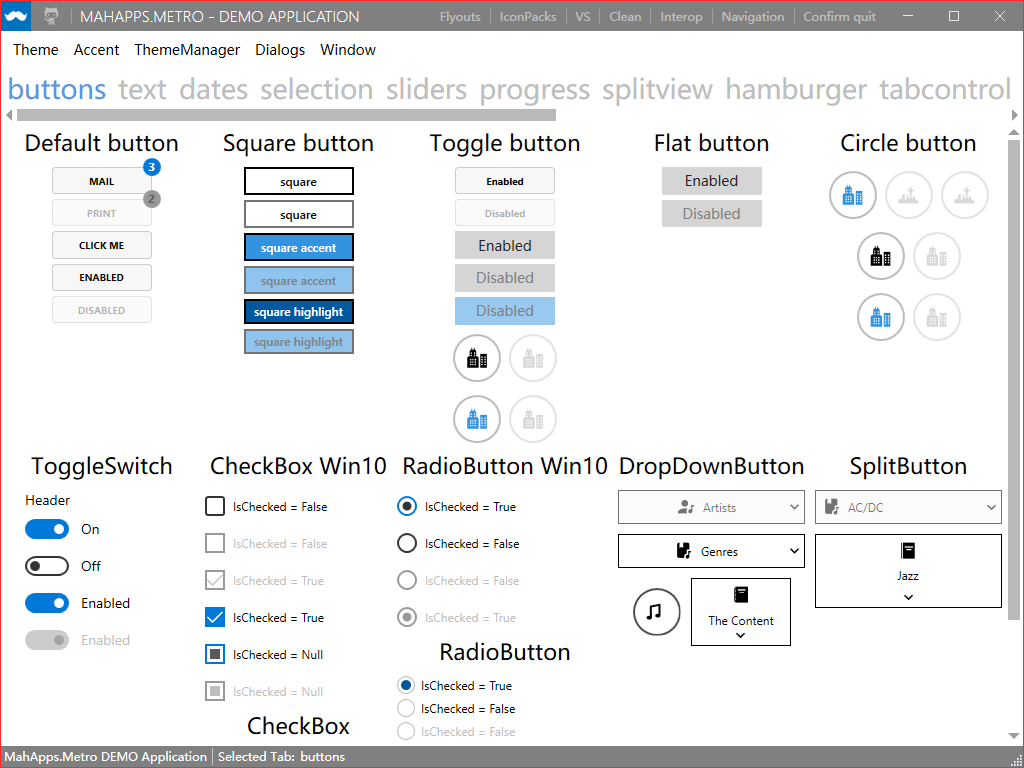 -
Progress进度条:这里提供了好几款,样式很优雅
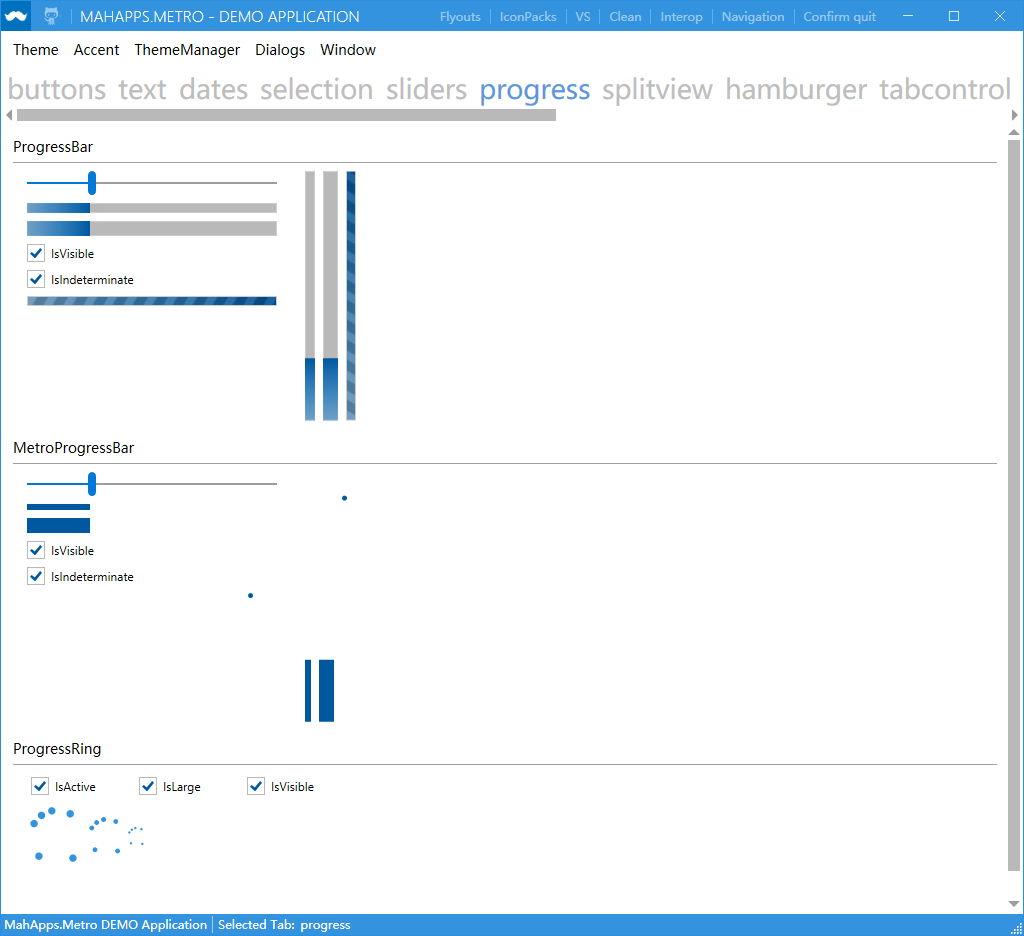
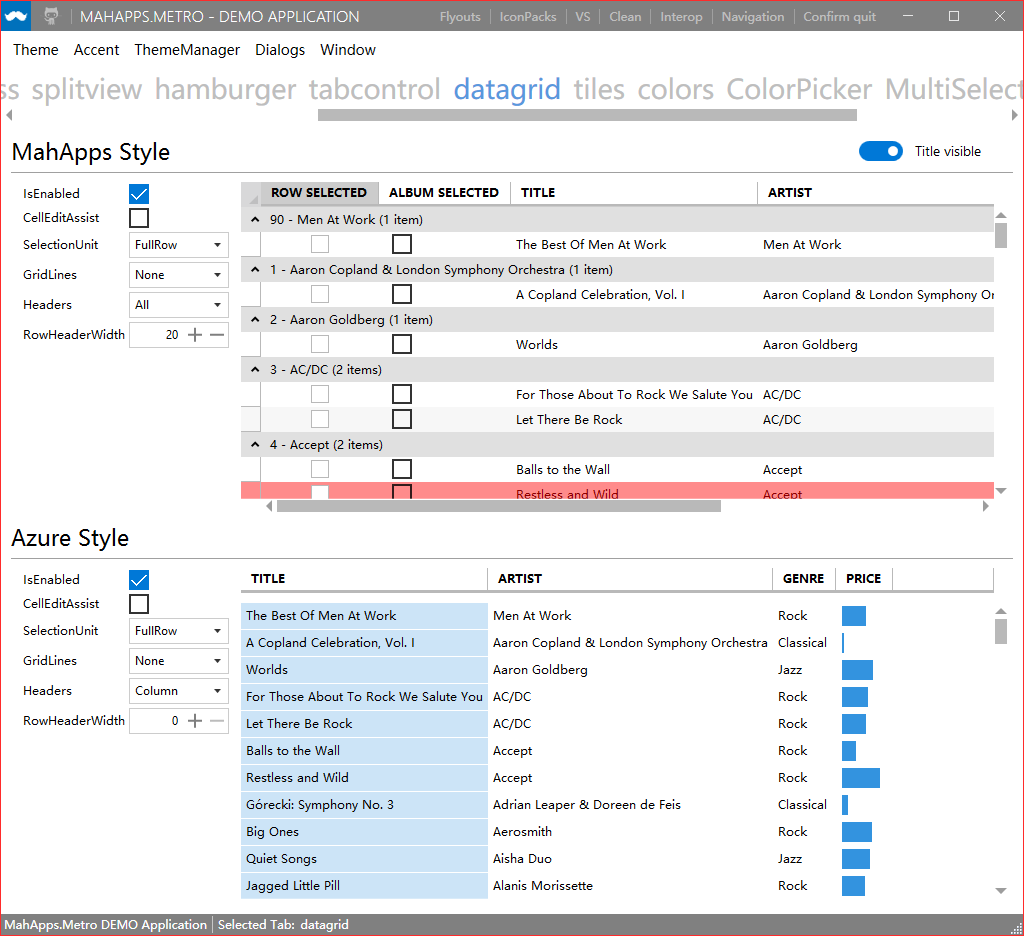
- datagrid:表格控件
- hamburger
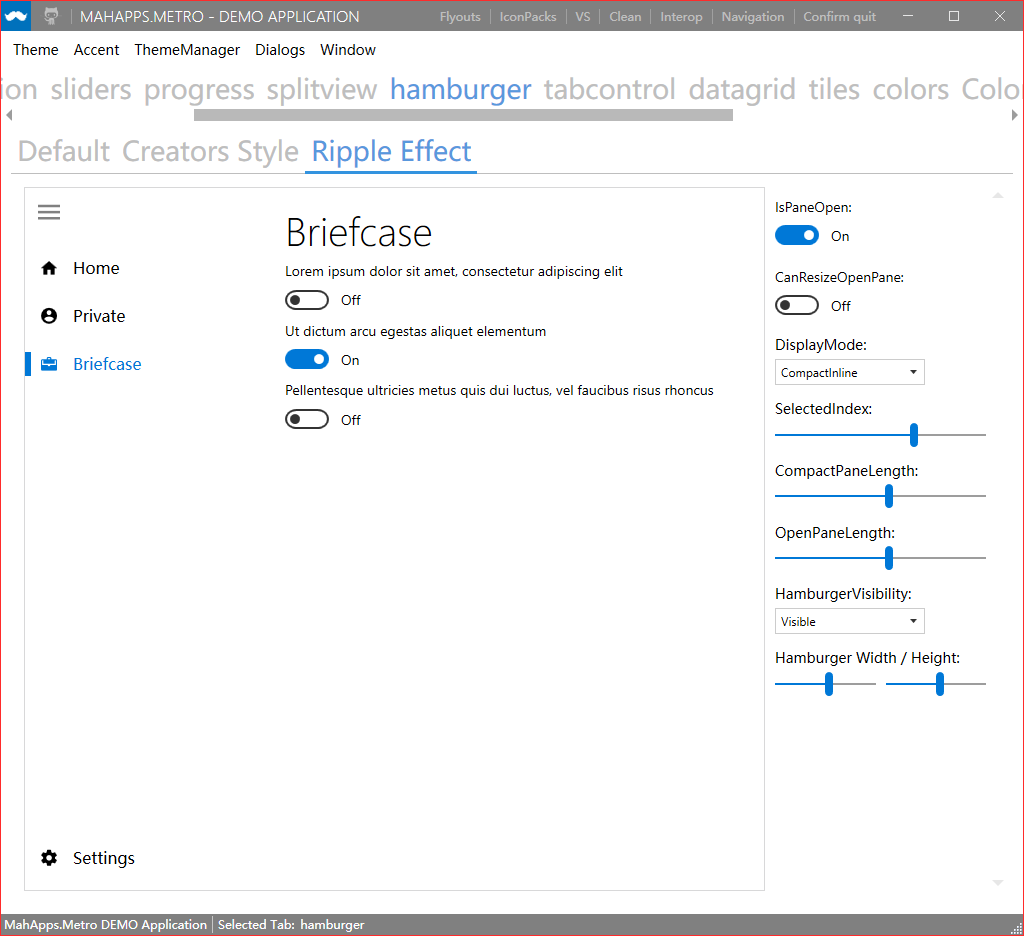
-
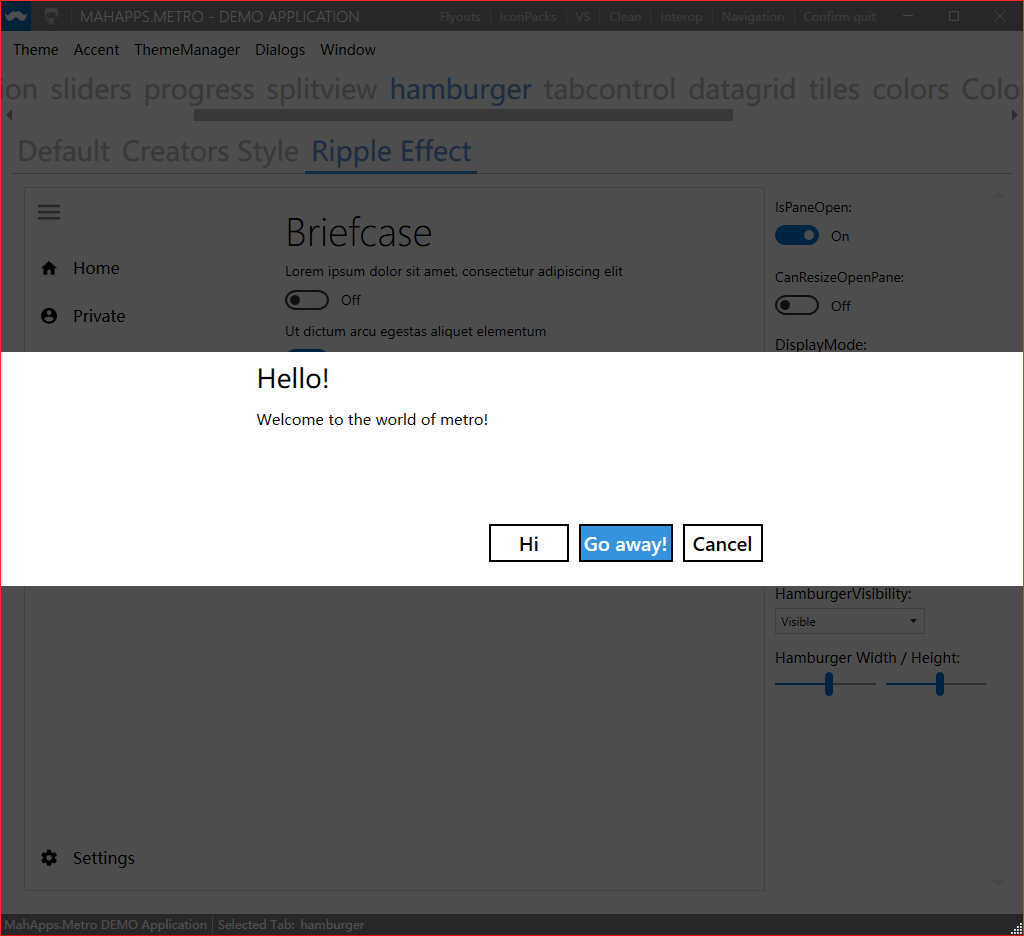
Dialogs:消息弹框
用法介绍
看了上面的控件风格,想必有很多小伙伴已经迫不及待想知道这套控件库如何在自己项目中使用了,接下来小编就带你正式体验MahApps.Metro.
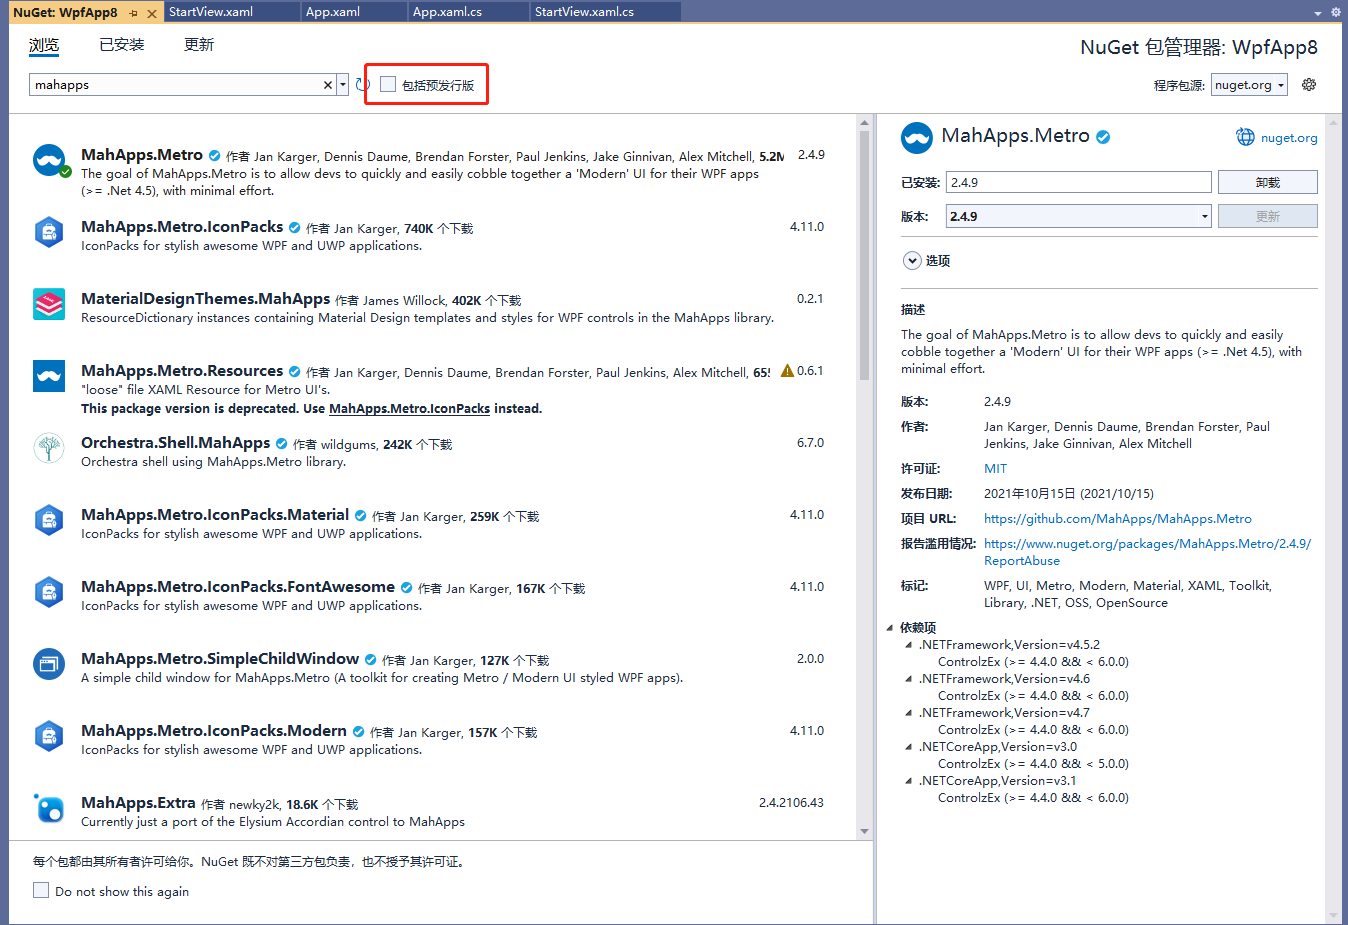
首先,创建项目,然后在github上搜索引用:如果要体验预先发型版,可以勾选图片中红框部分
- MahApps内置风格和主题:
| 1234567891011 | "pack://application:,,,/MahApps.Metro;component/Styles/Controls.xaml" />``"pack://application:,,,/MahApps.Metro;component/Styles/Fonts.xaml" />``"pack://application:,,,/MahApps.Metro;component/Styles/Themes/Light.Blue.xaml" />
- 使用MetroWindows:要开始全面的MahApps造型和全面的窗口支持,您需要将您的普通窗口更改为我们的MetroWindows。
打开你的主窗口,通常命名为MainWindow.xaml,在打开窗口标记中添加名称空间属性
| 123 | xmlns:mah="clr-namespace:MahApps.Metro.Controls;assembly=MahApps.Metro"或者xmlns:mah="http://metro.mahapps.com/winfx/xaml/controls" |
- 前台xmal全部代码如下:
| 123456789101112131415161718192021 | "WpfApp8.StartView"xmlns="http://schemas.microsoft.com/winfx/2006/xaml/presentation"xmlns:x="http://schemas.microsoft.com/winfx/2006/xaml"xmlns:d="http://schemas.microsoft.com/expression/blend/2008"xmlns:mc="http://schemas.openxmlformats.org/markup-compatibility/2006"xmlns:mah="clr-namespace:MahApps.Metro.Controls;assembly=MahApps.Metro"xmlns:cal="http://www.caliburnproject.org"xmlns:local="clr-namespace:WpfApp8"mc:Ignorable="d"GlowBrush="{DynamicResource MahApps.Brushes.Accent}"ResizeMode="CanResizeWithGrip"Title="StartView" Height="300" Width="600" WindowStartupLocation="CenterScreen">"TextContent"/>``"testBtn" Content="testBtn" Background="LightCyan"/>``"ListBoxItems" MinHeight="230" Background="LightGray"cal:Message.Attach="[Event SelectionChanged] = [Action ListBoxItems_SelectionChanged($source,$eventArgs)];[Event MouseUp]=[ListBoxItems_MouseUp($source,$eventArgs)]"/> |
- 您还需要修改窗口文件的代码,以便基类与XAML文件的MetroWindow类匹配:
| 1234567891011121314151617 | using MahApps.Metro.Controls;namespace WpfApp8{/// /// StartView.xaml 的交互逻辑/// public partial class StartView : MetroWindow{public StartView(){InitializeComponent();} }} |
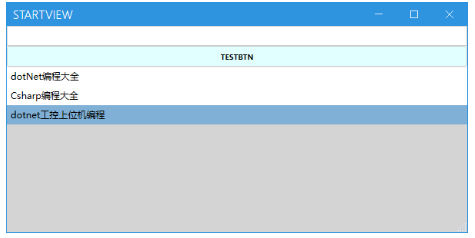
这样保存后重新编译运行,就会看到窗体的样式已经发生改变,完全变成了Metro风格。
运行结果
源码下载
百度网盘链接:https://pan.baidu.com/s/1dD8HaoVDz6G8xeipRWaQ-Q
提取码:6666
技术群:添加小编微信并备注进群小编微信:mm1552923 公众号:dotNet编程大全
转载请注明:xuhss » 介绍一款倍受欢迎的.NET 开源UI库